You are using one of the most outstanding WiFi devices i.e. the TP Link wifi range extender. After performing tplinkrepeater firmware update and setting it up in a proper way, you will surely get a high-speed internet range to access (without signal drop) everywhere in your house. So, your existing router has stopped performing well and due to that you have replaced it with a new one, right? Yes? Now, you might be thinking – how to connect TP Link extender with a new router, right? If you nod in yes, then this post can be of great help to you.
Here, you will get step-by-step instructions through which you can easily connect your TP Link WiFi range extender with your new router at hand. Thus, without much delay, let’s get started.
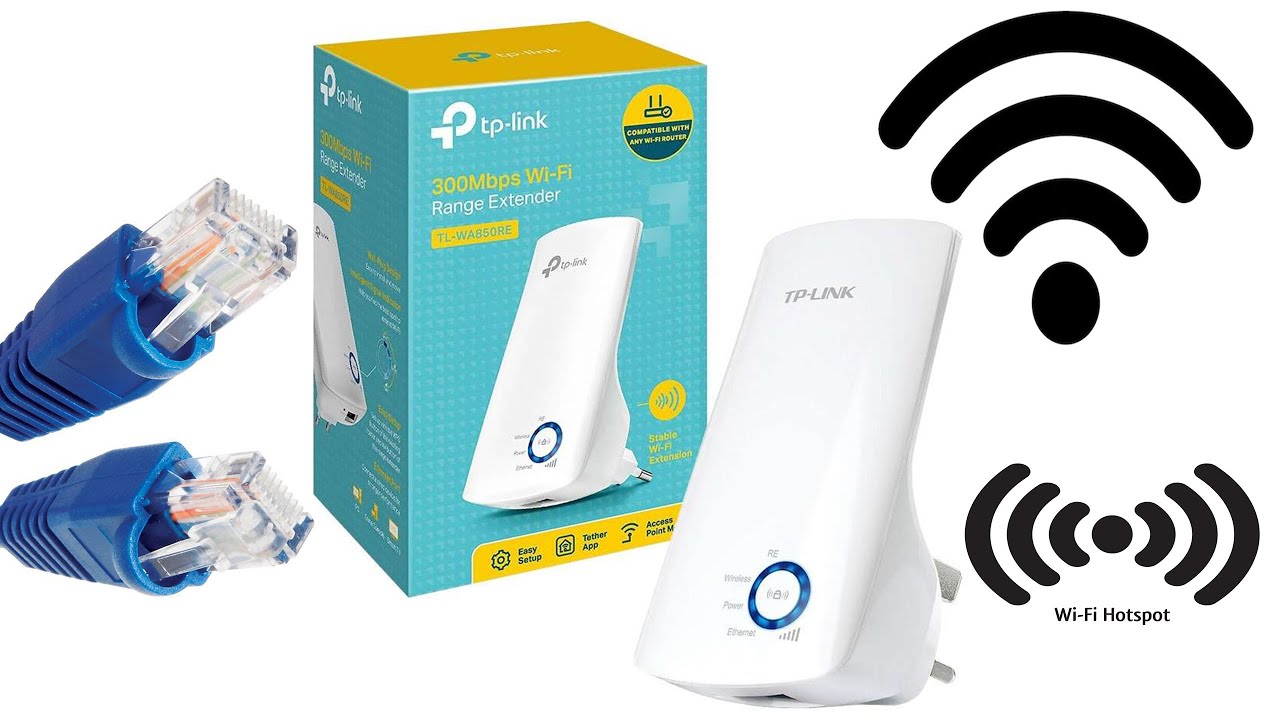
Connect TP Link Extender to a New Router
The Step-by-Step Instructions
Step 1
Turn On Your TP Link Extender
The first step towards connecting your TP Link device and new router is to turn on your WiFi range extender into a working wall outlet. Ensure that your TP Link device is properly plugged into a working wall socket.
Apart from this, you also have to make sure that your TP Link WiFi range extender is getting an adequate power supply.
Step 2
Connect the New Router and TP Link Extender
Now, here’s the answer to your question. You can connect your TP Link WiFi extender and router using an Ethernet cable. But, make sure that the Ethernet cable doesn’t have any sort of dust or damages on it. Moreover, the connection between the devices must be stable and finger-tight.
If you don’t want to setup your TP Link extender and router using an Ethernet cable. Then a wireless source can also be used for connecting the devices.
Does the second step doesn’t help you connect your TP Link WiFi extender and existing router. No? No problem! Try connecting them using the WPS button. This is one of the easiest methods to connect a new router and TP Link WiFi range extender.
Step 3
Using the WPS Method
Note: Prior to using this method, make sure that your new router as well as your TP Link WiFi range extender consists of WPS feature. If they both have the WPS feature, then follow the steps highlighted below for connecting them.
Step 1: First things first, ensure that your new router and TP Link WiFi extender (both) are getting a steady power supply. Besides, you also have to ensure that they both (extender and router) are placed within range and reach of each other.
Step2: Make sure that the power LED on your TP Link extender and new router is stable.
Step3: Once you are sure about the above-mentioned two steps. Then press the WPS button on your TP Link WiFi range extender.
Step4: After a few minutes, press the WPS button on your new router as well.
Fab! In blink of an eye, and your TP Link extender and new router are connected already.
Now, you can unplug your new router and TP Link extender and plug them to the location of your choice. But, do not place your new router and TP Link extender away from the range and reach of each other.
Once you are done with the placement process, download the tplink app, and get ready to control your extender’s and WiFi settings remotely from anywhere.
In a Nutshell
By following the step-by-step instructions provided in this article. You will surely able to connect the TP Link WiFi range extender and your new router.
So, were the instructions provided in this article helped you out?